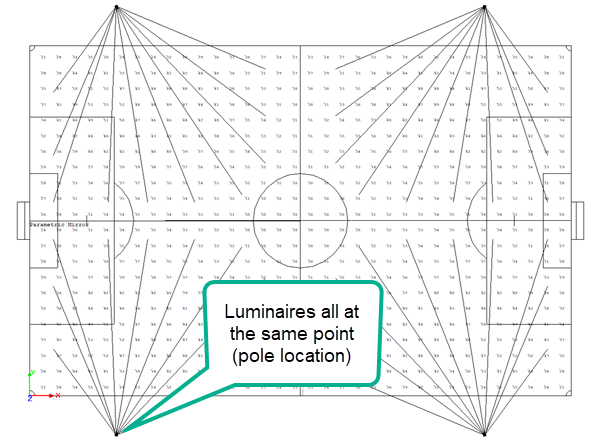
It’s common practice in many flood and sports applications to place all pole mounted luminaires at a single point, the pole location. This works as the fixtures are point sources and in Parks and Recreation scale applications, the number of luminaires on a pole is reasonably small (in comparison to professional level fields).

Overall field
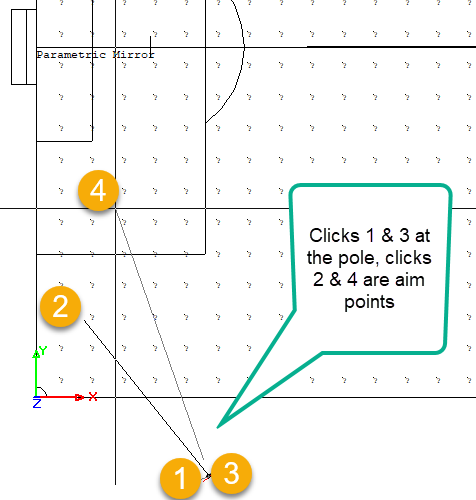
AGi32 makes this easy using the Locate & Aim function; the first click sets the pole location, the second click sets the aiming point. Each subsequent luminaire requires the same clicks, pole, then aim point. If you are diligent, things work out. Usually…

Conventional method
Things go bad in a hurry if you are zoomed into an aiming point area and the pole location is no longer on the screen! Zooming in and out is a pain and errors can occur.
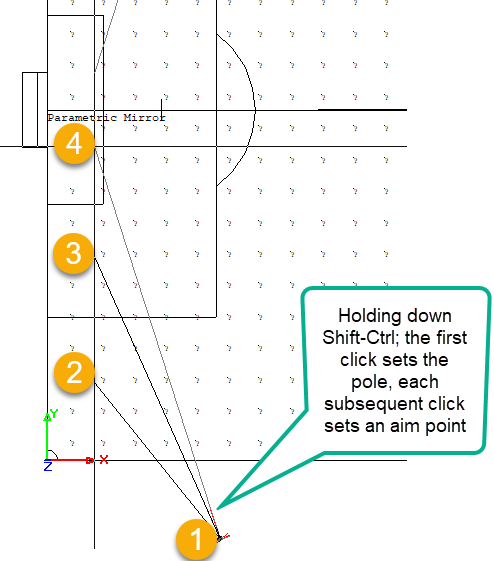
There is a nifty keyboard shortcut you can use to eliminate the pole location click after the first luminaire. Simply hold down the Shift-Ctrl keys while setting aiming points (AGi32 v19 spells this out on the Command Line)

Shift-Ctrl method
One more time:
Using Locate & Aim as usual, set the pole location with the first click.
Now hold down the Shift-Ctrl keys together.
Click each aiming point to emanate from luminaires mounted on that pole. (Each aiming point is a unique luminaire).
Finally, note the title of this post ends in “…in Direct mode”. The technique of placing all luminaires on top of one another is not good practice in Full Calculation Mode. Why? In Full calculation mode the luminaire symbols are physical objects and will obstruct light from one another!
There is a quick fix for this if you want to render: Use the “Null” Render Mode Symbol to eliminate the symbol geometry completely. You can then run the calculation accurately in Full Radiosity mode.
Here’s a one minute video of the Shift-Ctrl method.
