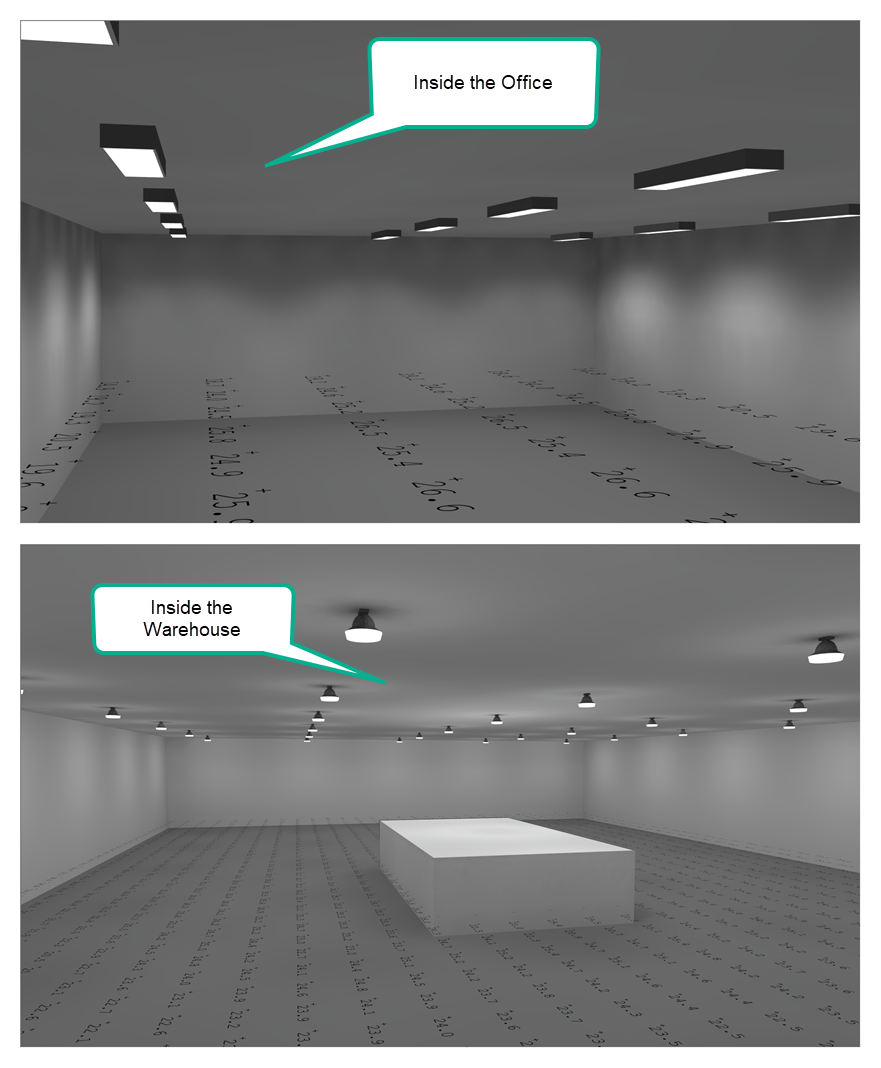
It’s common to see smaller offices inside larger warehouse structures. To model this scenario, we often see users place small “rooms” inside of a large “room” (using the term “Room” as in an AGi32 entity). If you want to compute the results for both rooms, this practice requires special attention, or you will end up with erroneous results.
Follow these procedures to make sure your model computes and renders properly.
Place both rooms, include calculation points in both.
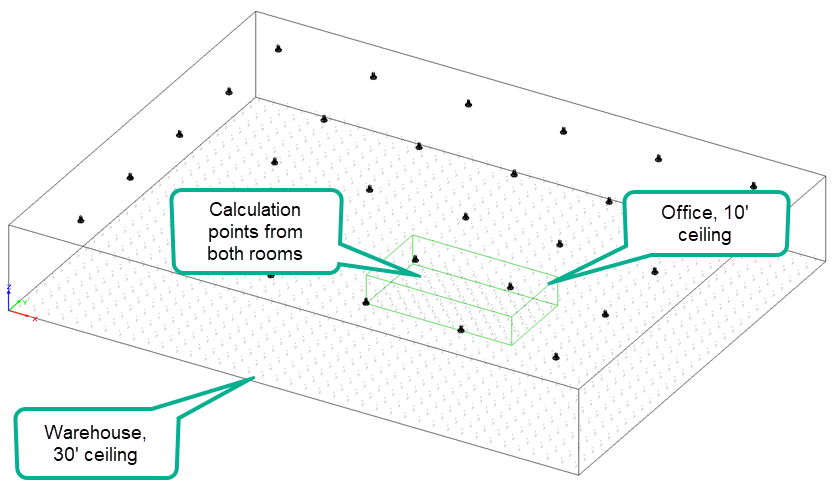
Remove the calculation points from the larger warehouse floor grid that are inside the office.
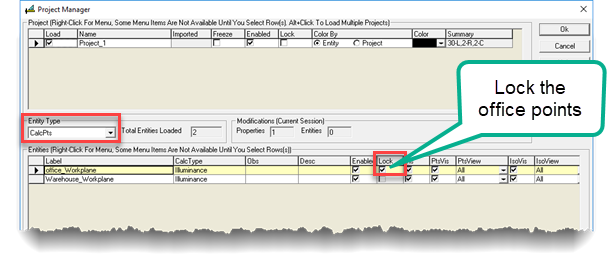
To do this, first go to Project Manager and “Lock” the calculation points in the office
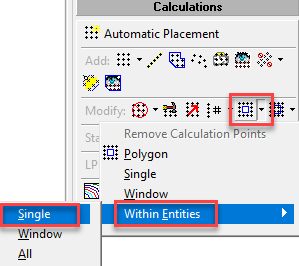
Now use the “Remove Points Within Entities” command and select the office. Then right-click to accept and remove the points from the warehouse grid.
Return to Project Manager and unlock the office points.
Use Surface Edit to select the office room.
Tag all surfaces (ctrl-a).
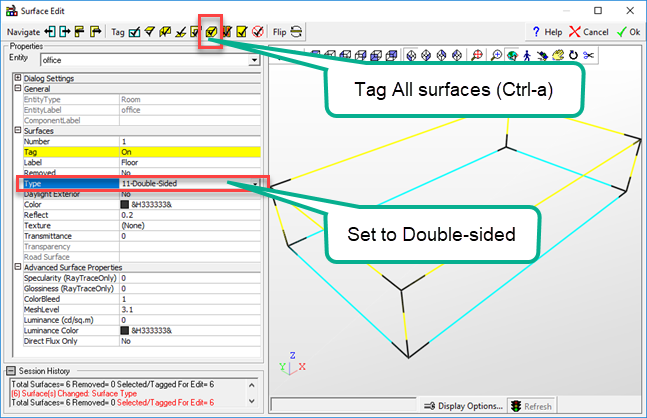
Change all surfaces to double-sided in the Properties section. This prevents light from entering the office from the warehouse. You will only be able to see inside the office in Render mode when you move the observer into the smaller room.
Now cut an “opening” in the floor of the large room (warehouse) in the shape of the small room.
This prevents the floor of the office and floor of the warehouse from occupying the same space (being co-planar).
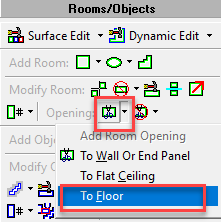
Select the “Add Room Opening – To Floor” command.
Select the large room (we are cutting the floor of the warehouse).
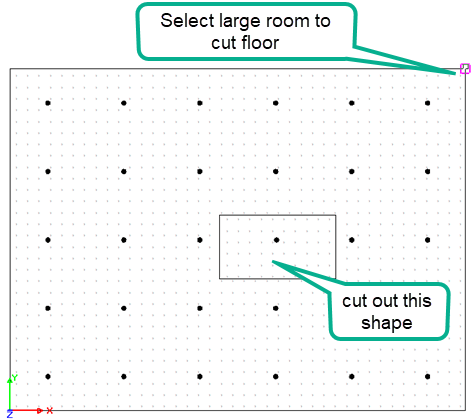
With “Snap-To” enabled (it is by default), click on the corners of the small room. Right-click to close the final side.
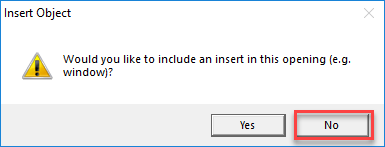
DO NOT place an insert in the opening per the AGi32 prompt that follows this operation (that’s for windows).
We are finished!
After adding luminaires to the office (which you could have done initially or exported from Room Estimator), we can see the final results.
